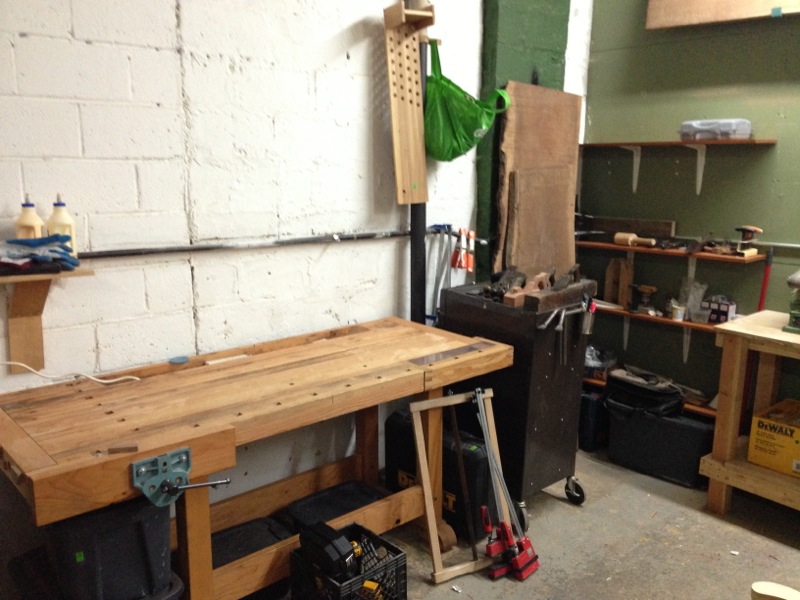
In the summer of 2013, my friends asked if I'd make them a dining room table. This coincided with our move back to the East Coast, and was a great excuse to find some shop space in Somerville. You'll recognize the bench and some other tools in this shot of my corner of the shop:
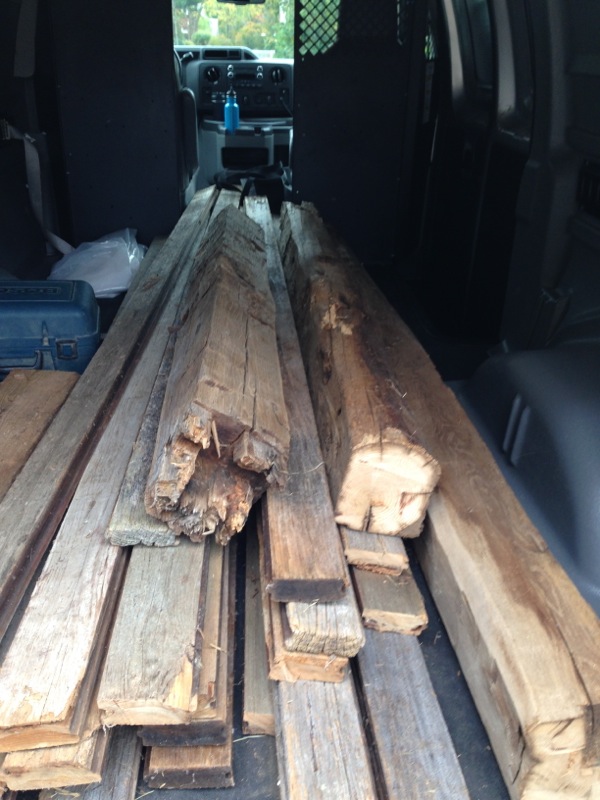
When we talked about the kind of table they wanted, they mentioned some reclaimed wood they might have on the family farm — a barn and a silo had come down during hurricane Sandy. We took a road trip to Connecticut, and picked up a load of old timber. Really old. I think the barn might have been 200 years old, and the silo a little younger?
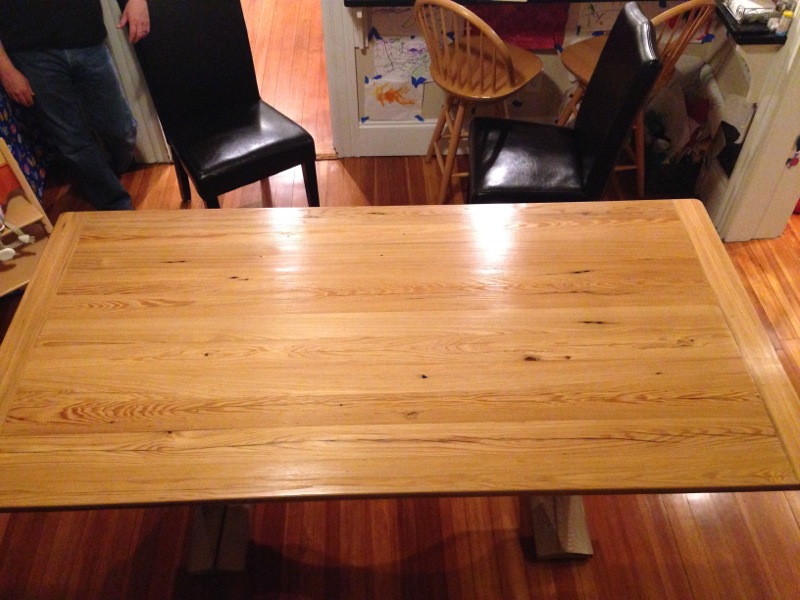
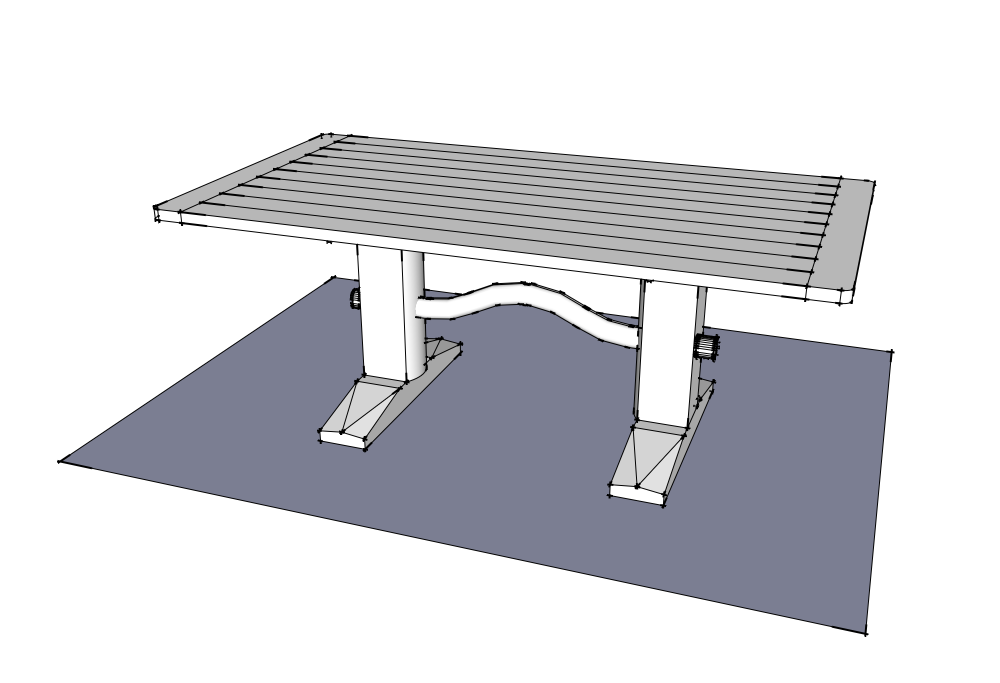
I sketched up some designs (in Sketchup), and we all agreed on one that had a simple tabletop and a trestle-style base. The cross-piece between the two columns is supposed to evoke a yoke, and otherwise I wanted to leave the beams as large and untouched as possible.
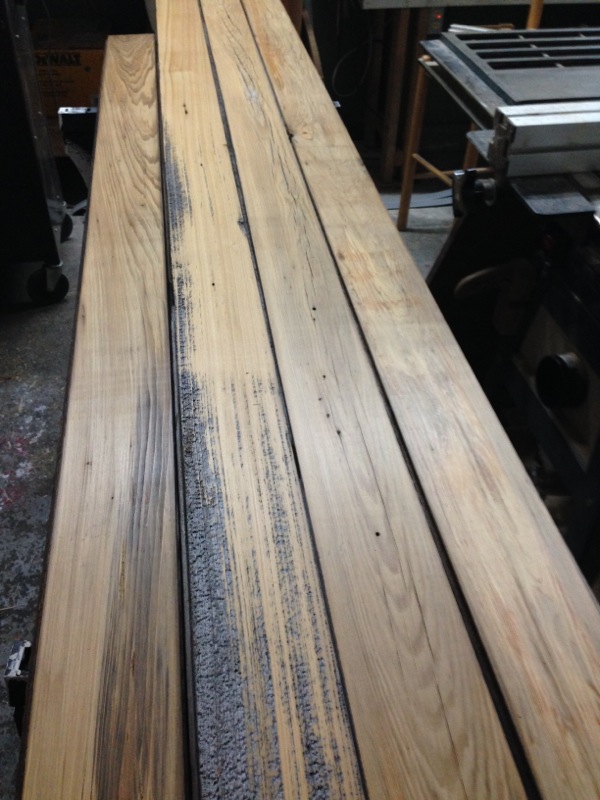
I'm not 100%, but I think the boards from the silo are cypress, and the beams from the barn are either oak or chestnut. Incidentally, the Forest Service actually provides a service to all Americans: if you send them a piece of wood, they'll identify it for you, for free (up to two each year). Maybe I'll do that with some leftover scraps...
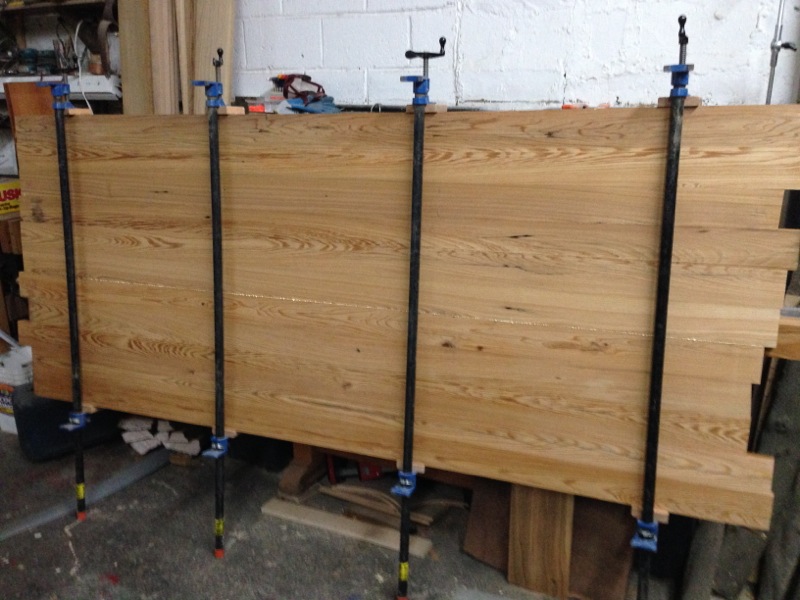
I got to work planing down the silo boards to make the tabletop. They started out weathered and grey, and many (though not all) cleaned up quite nicely.
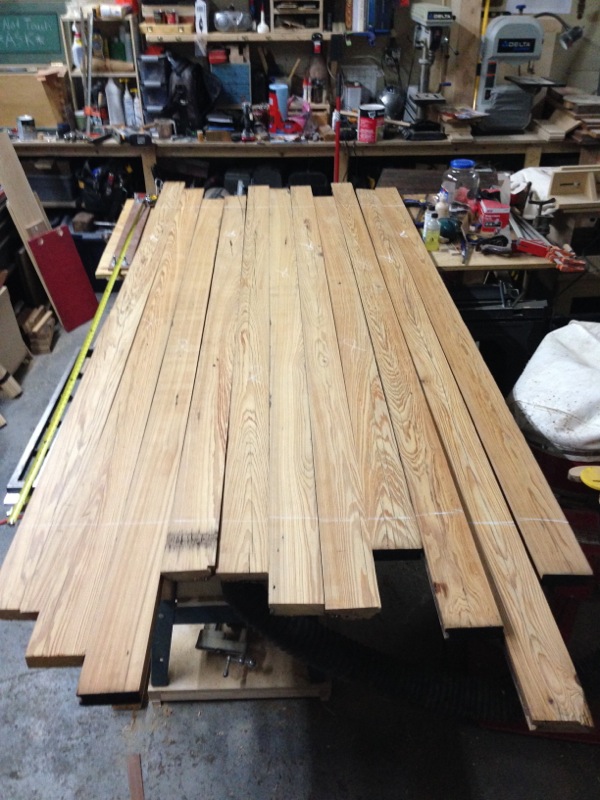
Once I'd laid out the boards in order for the top, I used a biscuit joiner and biscuits to align them during glue up (which mostly worked), and started gluing them up, a few at a time. I ran each panel of 3 or 4 boards through the planer, then glued up the whole top:
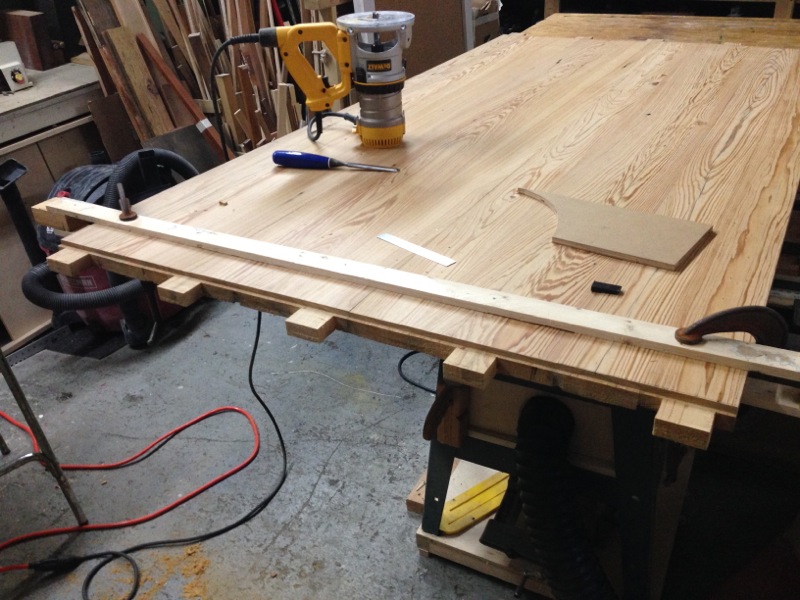
This was the first time I'd made a top with breadboard ends, and it went decently well. I used a jigsaw and hand saws to cut the tenons on each end of the top, and then used a router to take the height down:
I pegged the breadboard end on, and could have done a better job getting it snug up against the tabletop. I wound up filling the resulting gap with some thin cutoffs from scrap, and it looks pretty decent in the final product. From there, I sawed and filed the larger radius on the four corners, then used a roundover bit in the router to soften the edges.
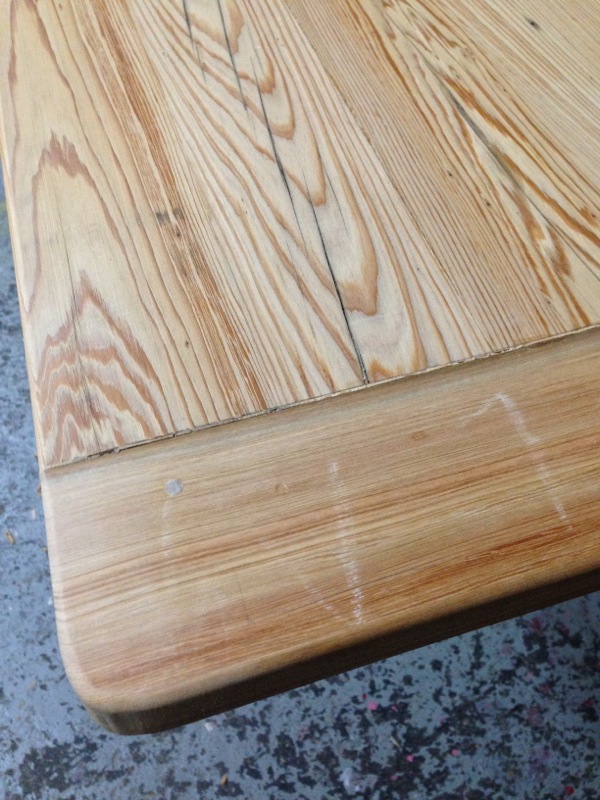
There were some natural (and unnatural) holes in the top, and so I filled them with epoxy, colored with graphite powder. The infill came out dark grey, and matched the patina in cracks in the wood quite well. No magic to the epoxy, really: mix the two parts, then mix in the graphite powder (by eye), then dab into the holes. They get sanded down with the rest of the top.
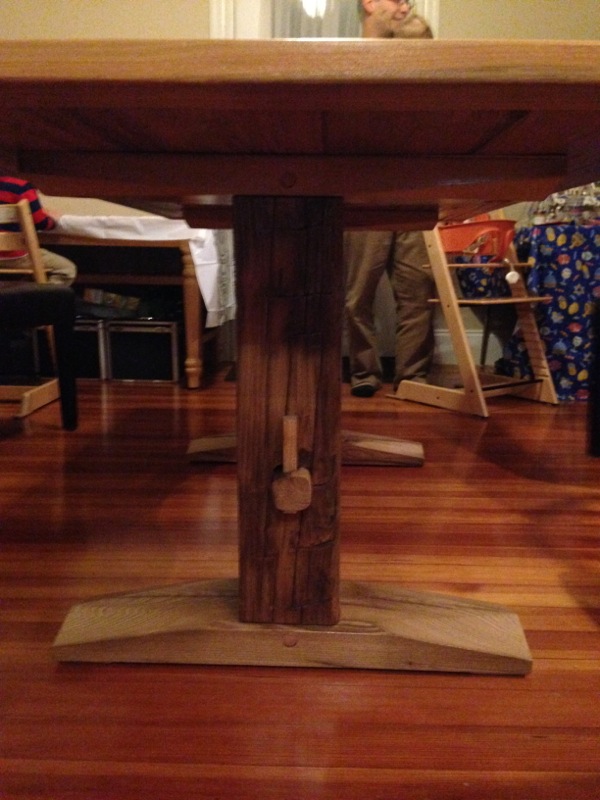
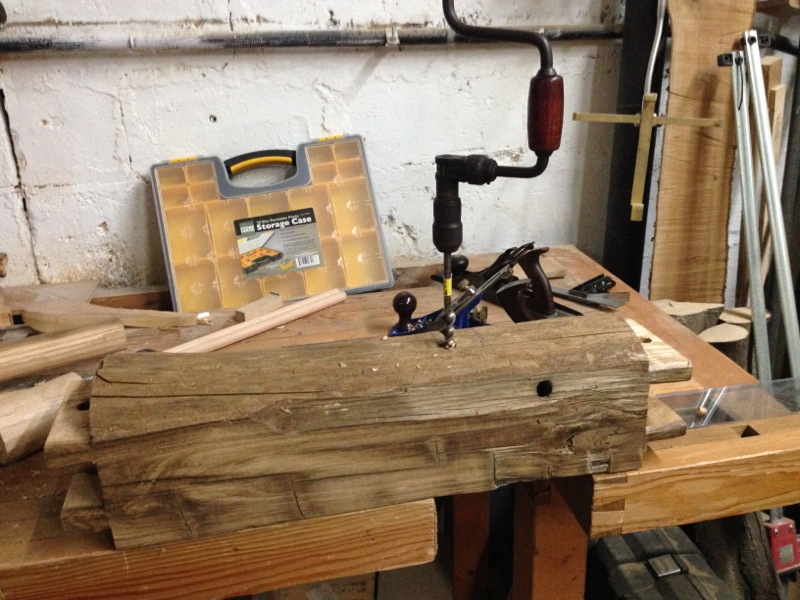
The beams really were in fine shape overall, and to do too much with them would have been a waste (I'd considered some carving, but even that might have detracted). I did shave off a bit of rotten wood that was the bark or outer layer of wood from each upright:
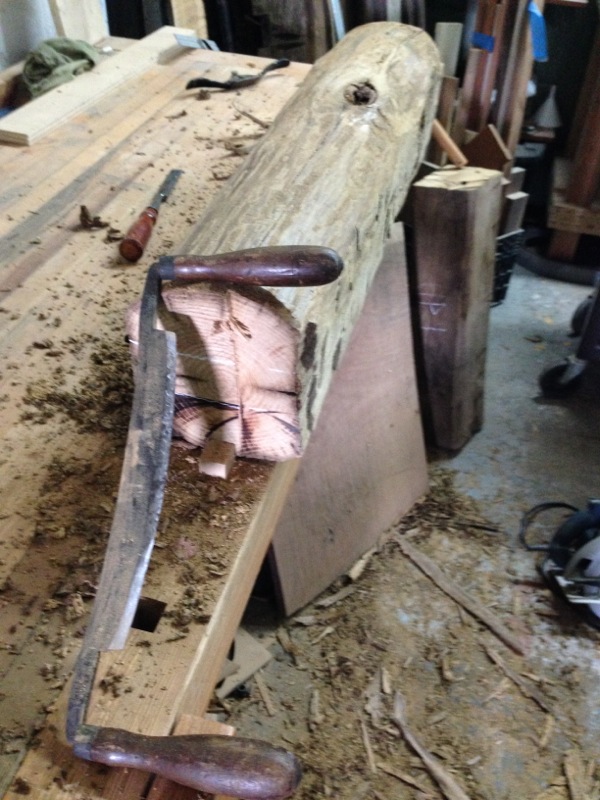
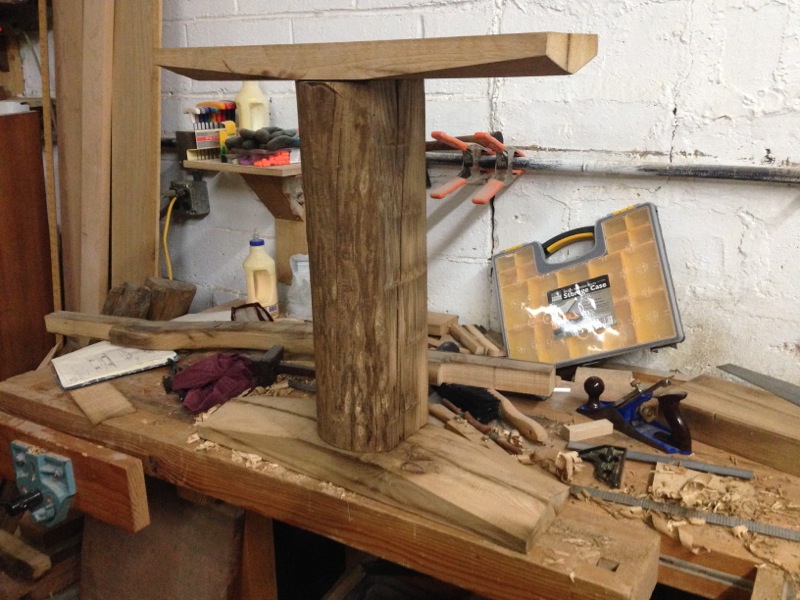
To make the top and bottom pieces for each side, I essentially split beams in half and then did some shaping. The beams were annoyingly an inch or so too big to rip on the bandsaw, and so I sent them through the table saw twice (once on each side) and then finished the cut with a hand saw. Phew!
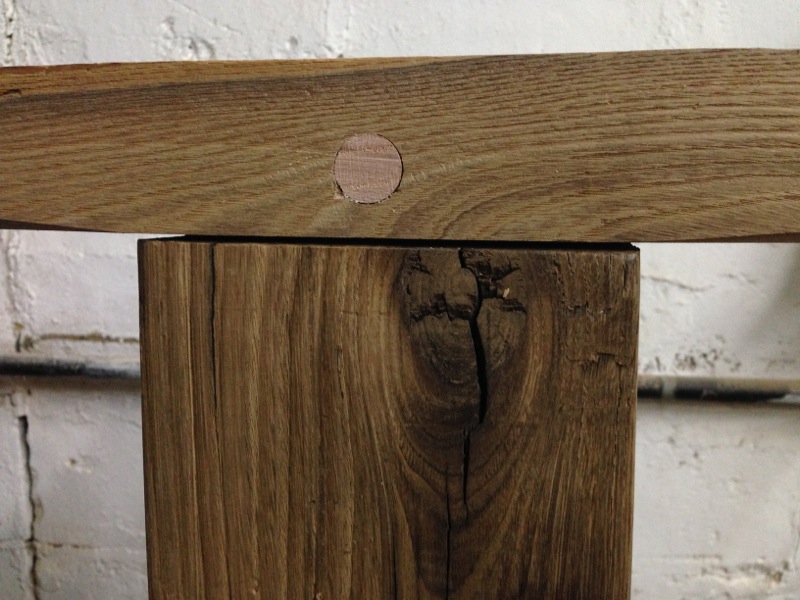
Each piece got beveled a bit to give them a lighter appearance, and the uprights are attached with two beefy tenons on each end.
For good measure, the joints are drawbored and pegged.
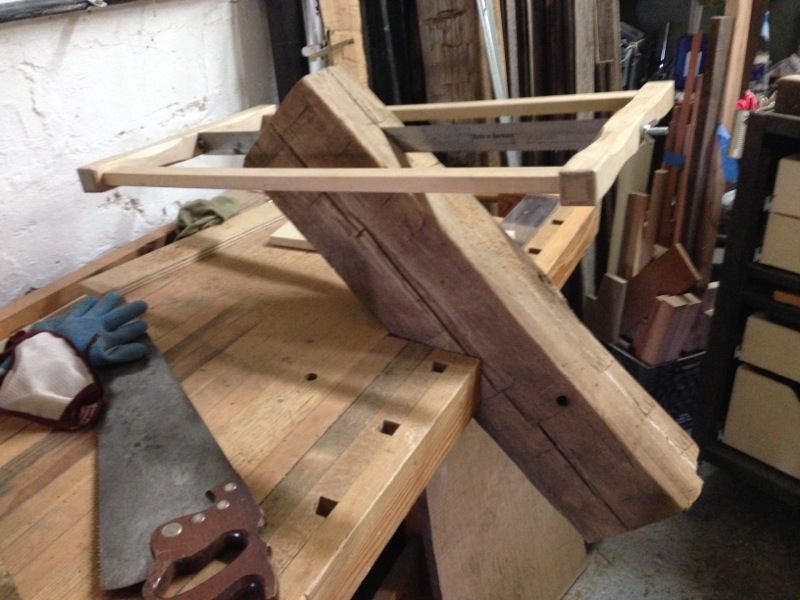
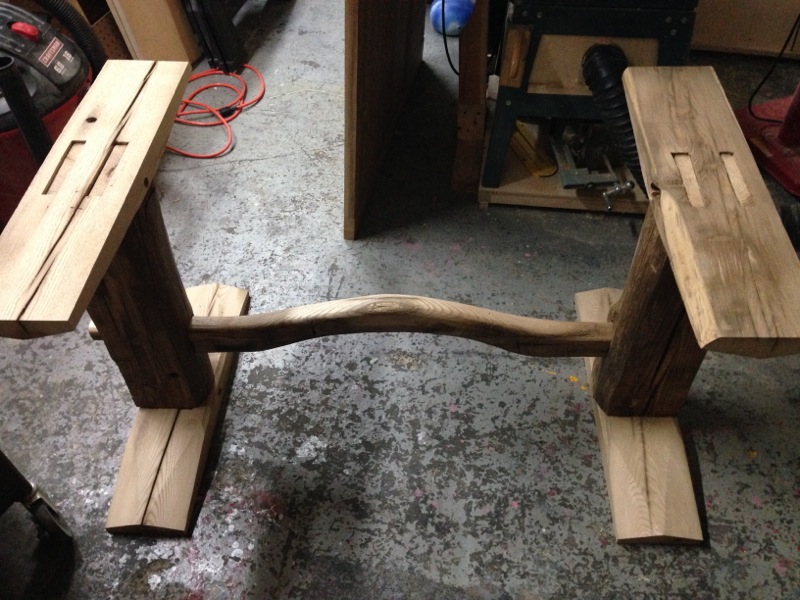
I cut big, square mortises through each upright for the yoke piece, which started as four bored holes. I sawed out the waste and then used a chisel to finish shaping the mortise.
The yoke itself is made from one of the beams as well. No good photos of the work in progress, but I cut out the rough shape on the bandsaw, then used a drawknife and spokeshave to refine it and round over all the edges. The yoke is held in place by wedges on the outside of either upright. Here's the base assembled:
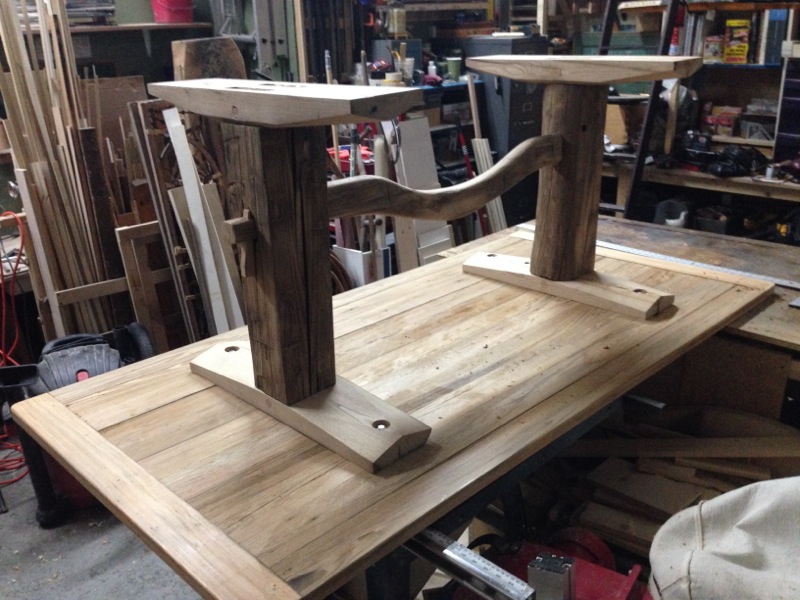
I marked and drilled mounting holes for the top by laying out everything upside down on the bench:
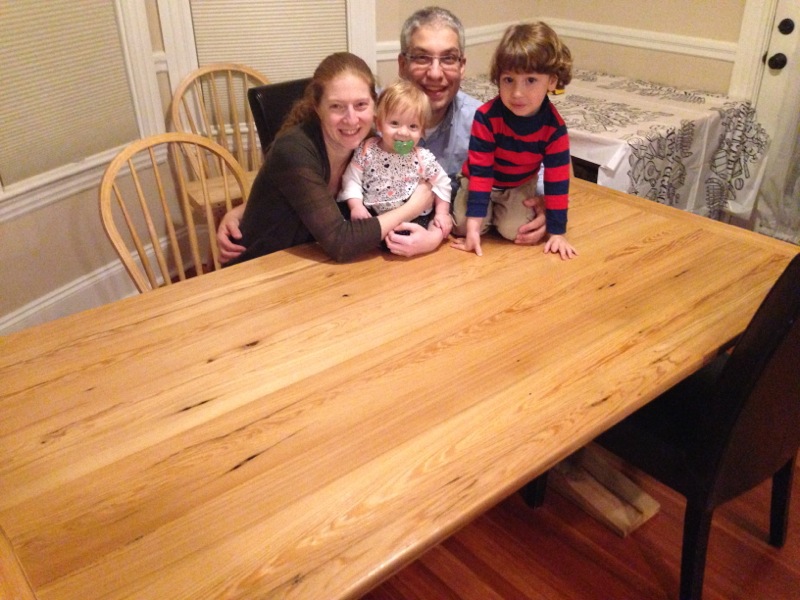
And that's about it! It got 4 or 5 coats of polyurethane finish (nice and durable and non-toxic when it's dry), and hopefully will last a lifetime!