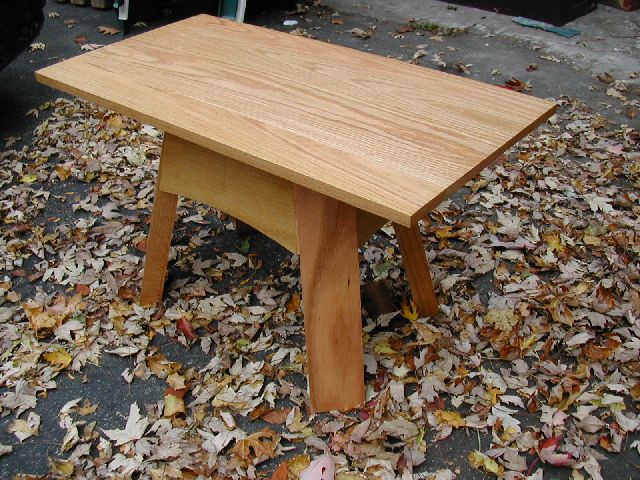
In the fall of 2002, I decided to undertake a larger furniture project - to build myself a coffee table. After much discussion and many drawings, I settled on the above design (my own - not from any plans). Needless to say, I learned a thing or two...
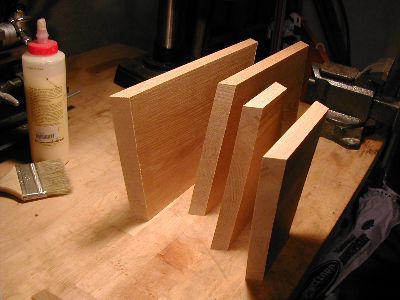
The first thing I did was buy the wood. The tabletop is composed of 3" wide oak stock I got at Home Depot. I was careful to pick the straightest of boards, and the resulting tabletop could have been spectacular, save some errors made by me later in the process. The apron is make from 3/4" oak stock, from either Rockler or the Home Depot (I can't recall). Finally, the legs were cut from a single slab of 1 3/4" thick oak:
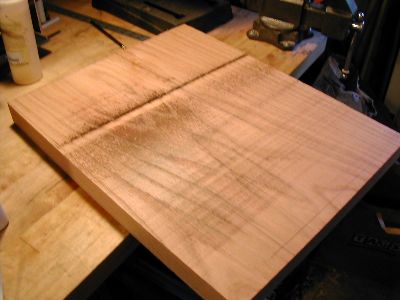
Through some magnificent combination of a sale and both the confusion and generosity of the folks at Rockler, I only paid about $20 for this gorgeous piece of wood.
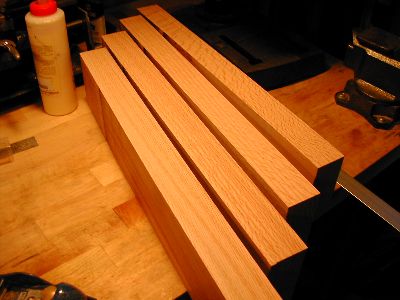
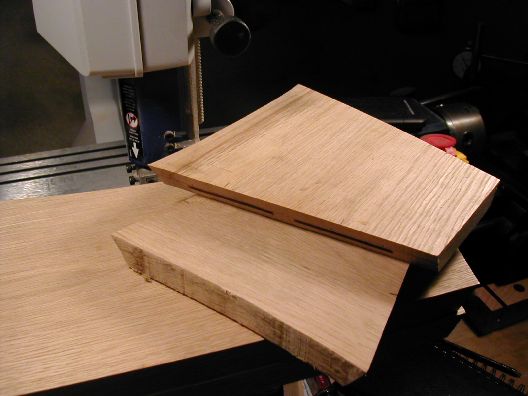
I cut the slab into four legs on the band saw (this was before I owned a table saw):
Then, again working on my pretty puny 9" band saw, I beveled the sides of the legs:
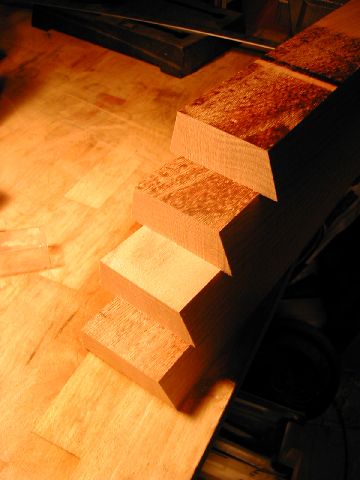
Finally, I cut the bevels on the ends of the legs. Amazingly, the surface from the band saw was good enough not to require planing - I sanded it a bit and went on my way.
The apron pieces were cut first by hand and then by band saw:
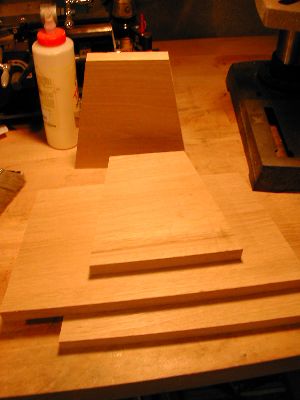
Their ends were then beveled to mate with the legs:
The curved bottoms were then cut on the bandsaw (and later sanded smooth), and slots for biscuits cut with a borrowed biscuit joiner:
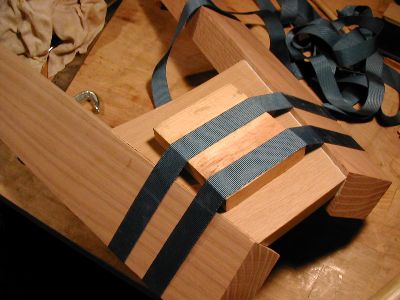
Assembling the apron pieces and legs proved to be the most difficult part of the project. Since nothing really joined up at right angles, clamping was nearly impossible. I used band clamps to put together two legs and a piece in between, but even band clamps proved ineffective for joining up the whole base. For that, I ended up brad nailing reinforcing blocks between the apron pieces and legs to hold everything together while glue dried. Note to self: right angles may look more boring, but they're worth it!
I made another big error when I glued up the tabletop. Before I knew much about wood grain, I glued the boards together with the grain running in different directions, a big no-no. It made planing the top flat very difficult.
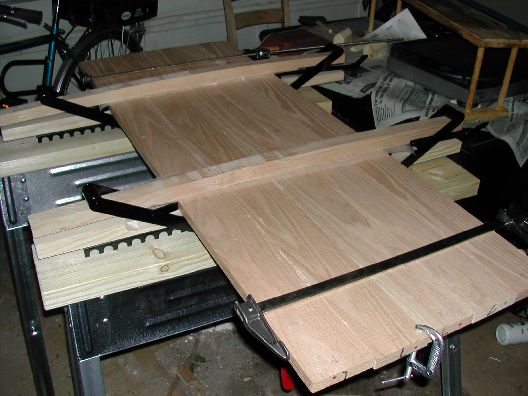
I cut the table top to size (using a portable circular saw) and planed the top as flat as possible, given the grain issues.
I stained the base and top separately (using a "natural" color stain and a glossy polyurethane topcoat) and attached them using figure-eight fasteners - these let the wood in the tabletop expand and contract independent of the base.
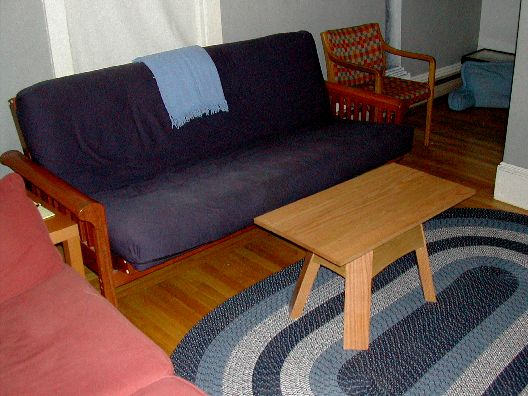
It did take most of a year, but here's the finished table in my living room. Not too bad, eh?