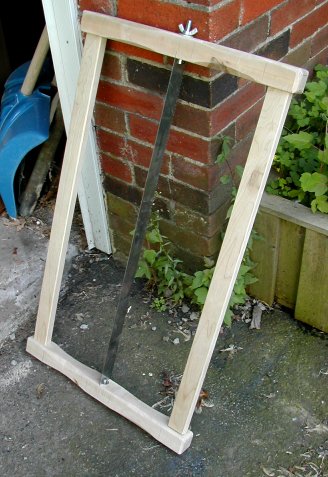
Following the rough instructions on this site, I built myself a frame saw. I've often wanted to re-saw a board, but haven't been able to.
I bought myself a saw blade from Woodcraft and built the frame myself from hard maple (more Home Depot wood).
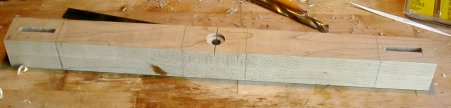
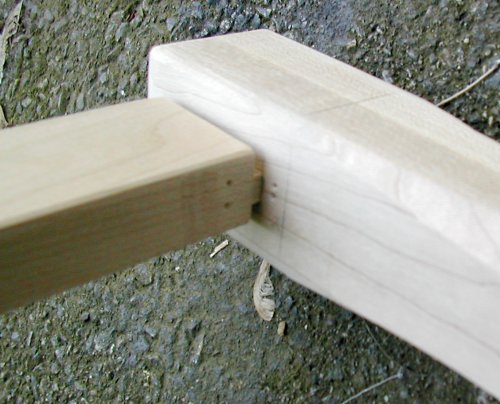
After cutting and planing the arms and stretchers to size, I made the mortices for the arms by drilling out most of the waste and cleaning it up with a chisel. I drilled a hole through the middle of each stretcher for the bolt that tensions the saw blade. There's also a slot that keeps the blade vertical.
I carved the stretchers so they'd be easier to hold and nicer to look at.
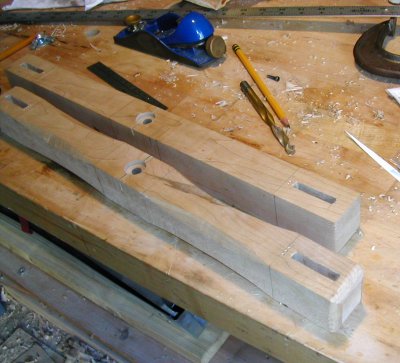
I traced a template (small white piece of cardboard visible in the picture below) to form the curves.
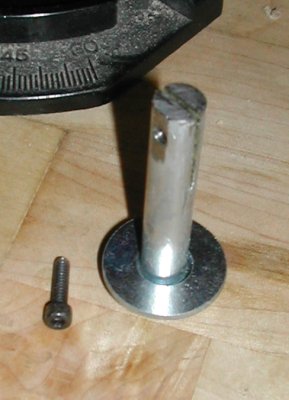
The parts that hold the blade in place and provide tension are 3/8" bolts with a slit hack-sawed down the middle. A small screw holds the saw blade in the slit.
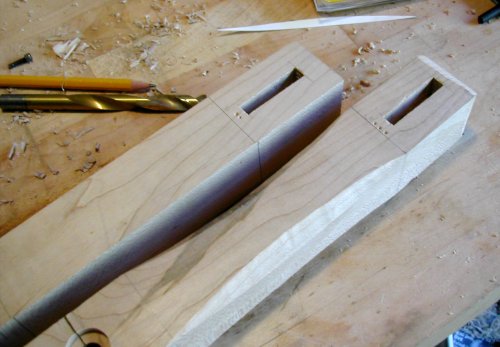
There's no need to glue the tenons in to the mortices - it's not good to store the saw with tension on the blade, I think. So, to make assembly easier, I marked each mortice/tenon pair with dots. The tenons were fitted in to the mortices individually, so one tenon only fits well into a particular mortice.
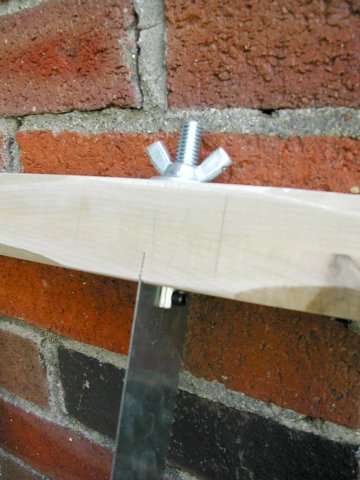
Here you can see the wingnut that provides the tension on the saw blade.
Ta-da!