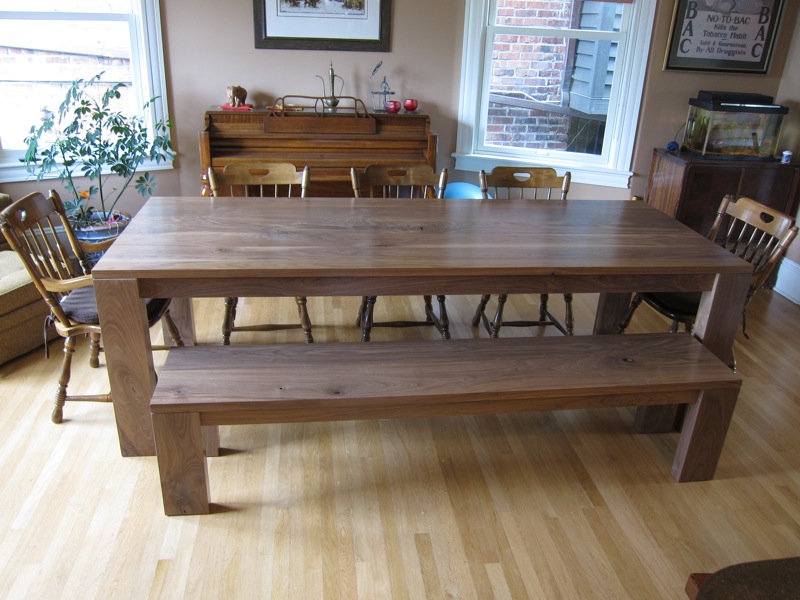
As "rent" for hosting my woodworking shop in their basement, I made my friends Faye & Nick a dining room table:

They gave me a pretty solid idea of what they were looking for in terms of both style and materials, so after a little consideration, I went off to the lumber yard. This would be the first of many such trips — one of the big things I learned throughout this project was how to get better at estimating lumber usage. At the end, I looked back at my initial estimate (of board-feet and cost) and had a good laugh - I was off by a factor or 2!
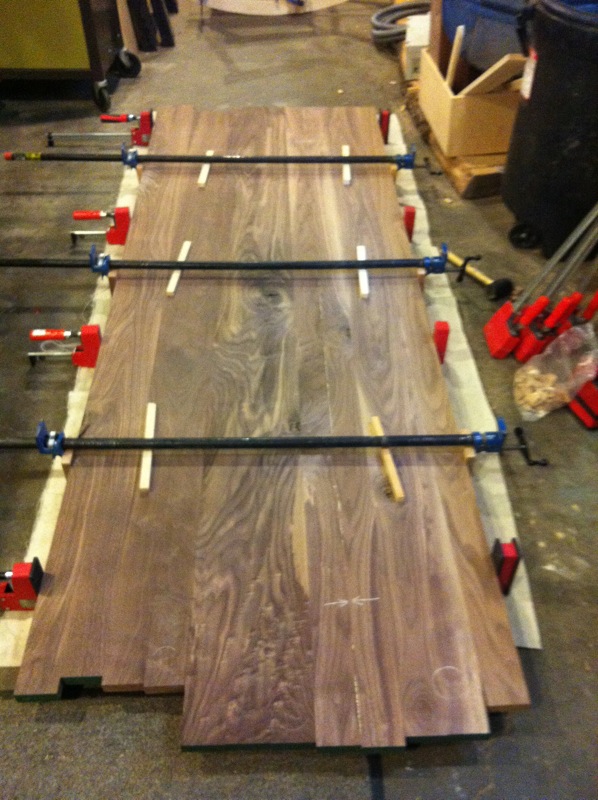
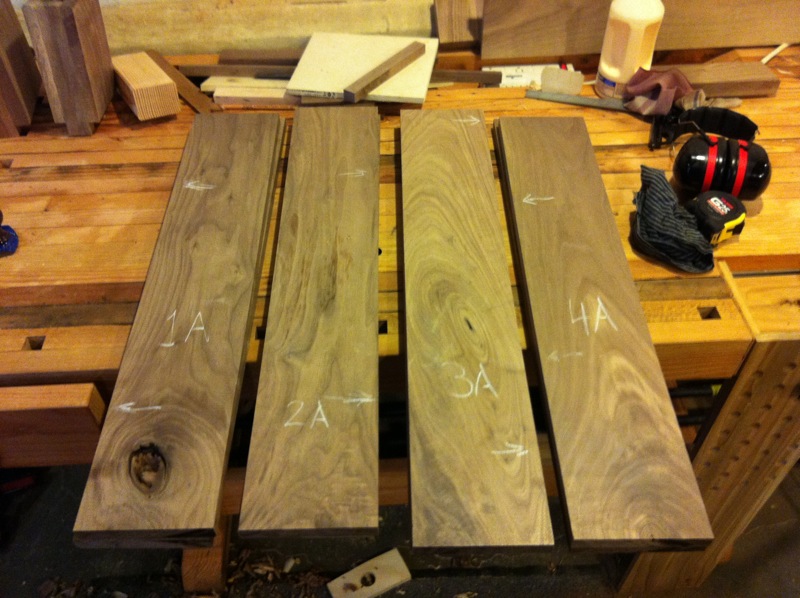
Even though I started with wider boards, after planing them to thickness, I ripped each down to about 3" wide. You can see in this picture that some boards ended up next to their original neighbor, while others wound up adjacent to not-perfectly-matching boards. I did my best to line up the colors and grain.

I was happy to be able to use a friend's domino joiner for the tabletop glue-up. This was critical not as much for strength as it was for alignment. The dominoes kept the surface of the resulting assembly relatively flat. I glued up four 3" boards at a time, leaving a plank that was narrow enough to fit that same friend's planer, and took just enough thickness off each piece to get it nice and flat.
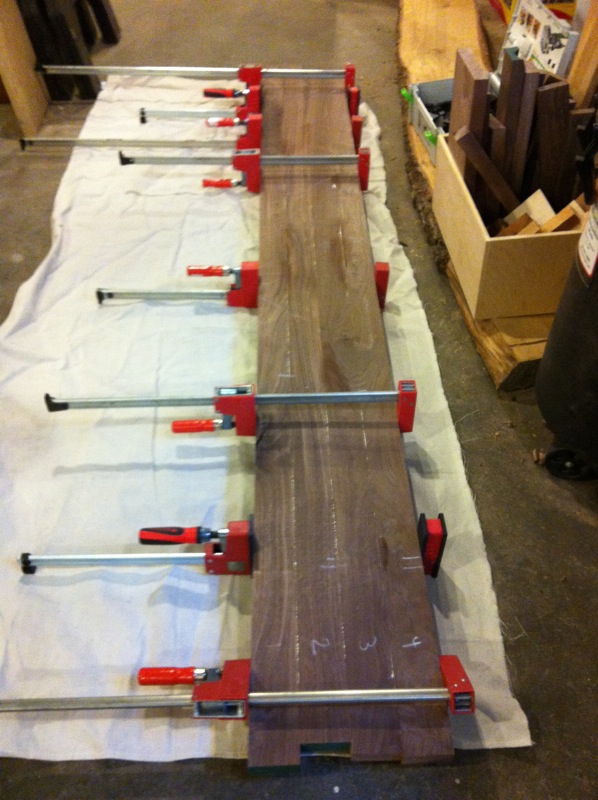
When the three subassemblies were complete and planed, I again used the domino joiner to align these pieces for the final tabletop glue-up.
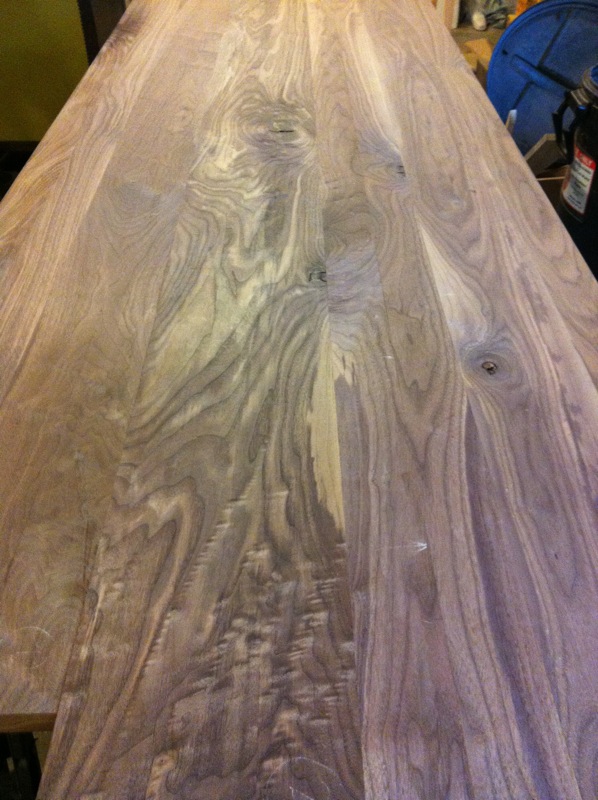
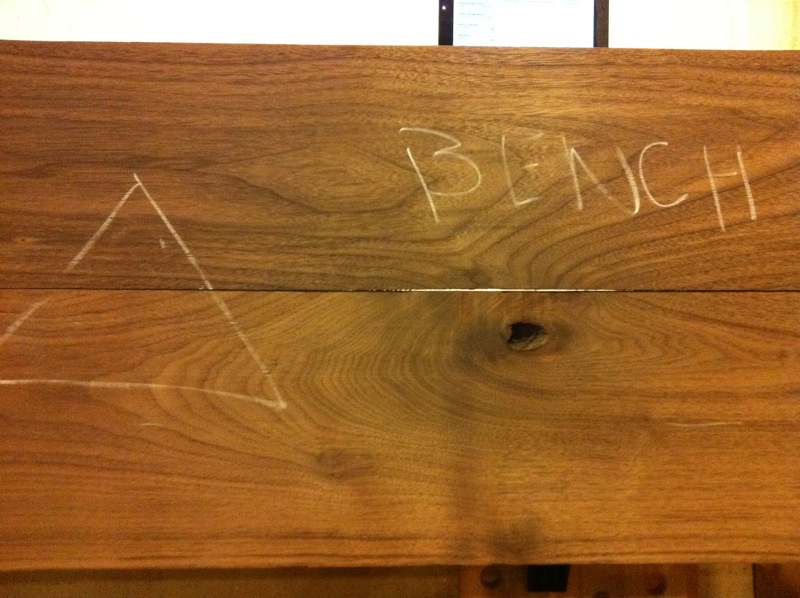
Gratuitous wood grain closeup! (Love those flecks of curly grain.)
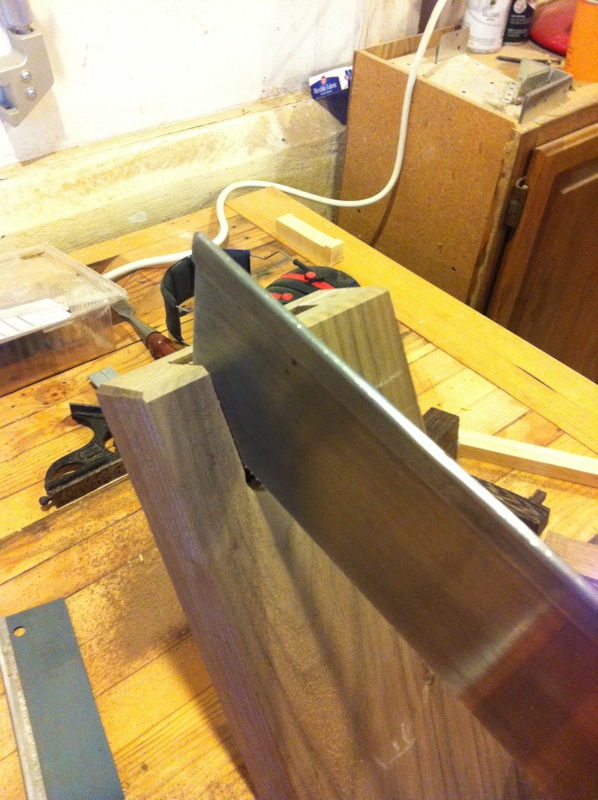
After the glue-up, I planed and scraped the top smooth and flat, and trimmed it to size. I think it was in a Fine Woodworking article that I saw a tip on using a flush-cut router bit with a straight edge guide (after a rough trim with a jigsaw) to get a really nice surface on the crosscut table end. It worked like a charm; important, since I wasn't adding a breadboard end of any kind.
With the top complete, I got going on the legs. We had in mind big, beefy legs (say, 6" x 3" x 28"), and I decided constructing box beams would be cheaper, perhaps faster, and more stable than trying to create solid legs. I used 4/4 stock planed down to about 3/4".
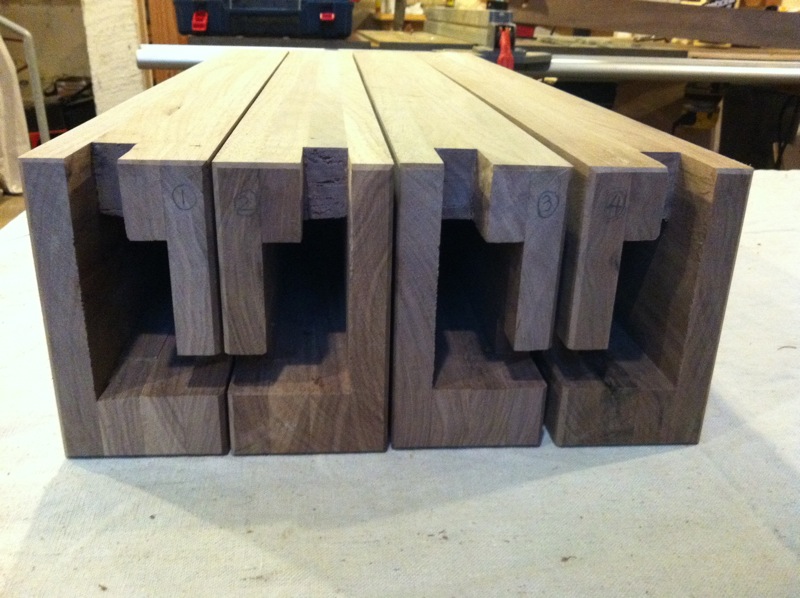
Here you can see the box construction of the legs, along with the notches I cut for the stretchers that would run between the legs.
I cut corresponding notches in the stretchers, and I was read for a test assembly!
I used a water-based polyurethane on top of an untinted stain to finish the parts (before assembly).
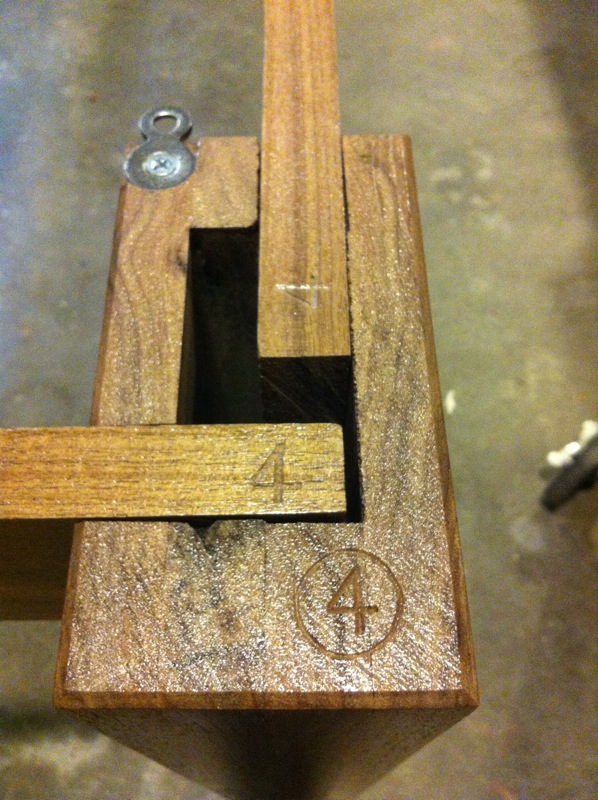
Here's a closeup of one the leg/stretcher assemblies — I carved numbers into the pieces so make re-assembly easy in case the table was too big to be moved.
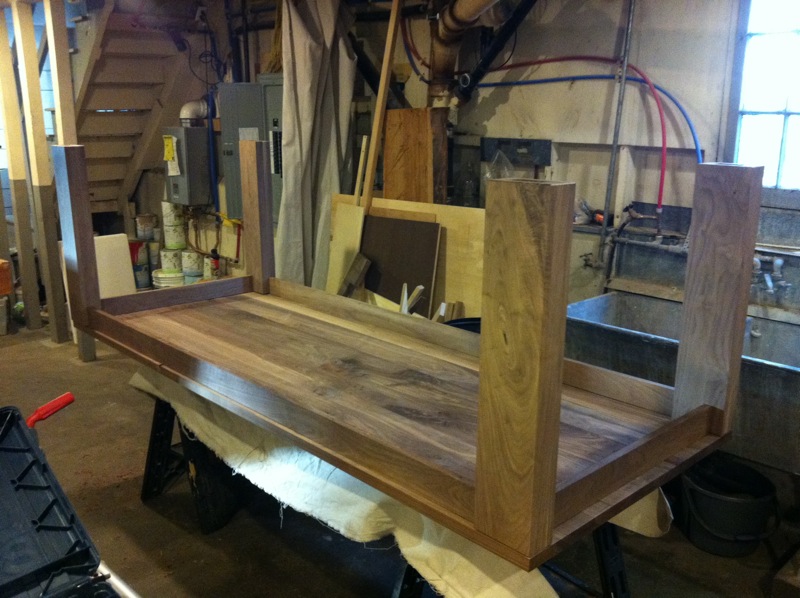
And here's the base of the table assembled in the shop. You can see the figure-8 fasteners used to attach the top to the base.
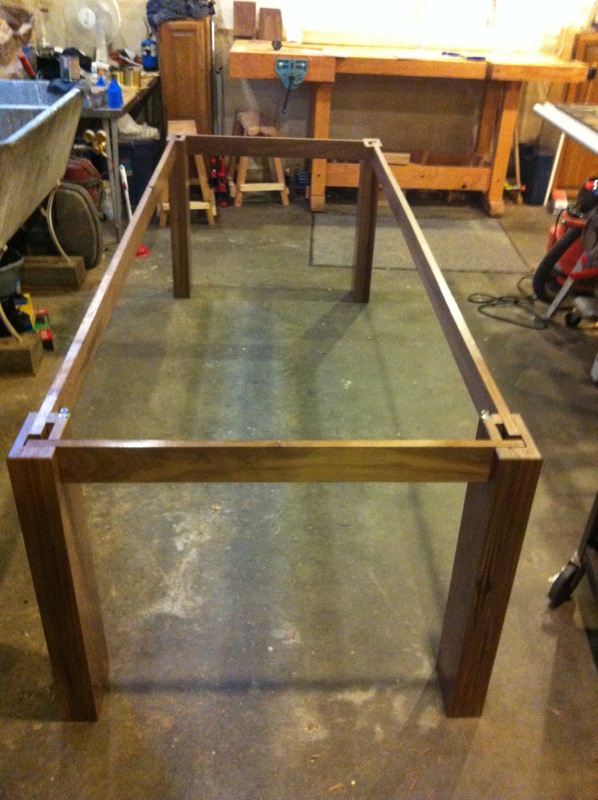
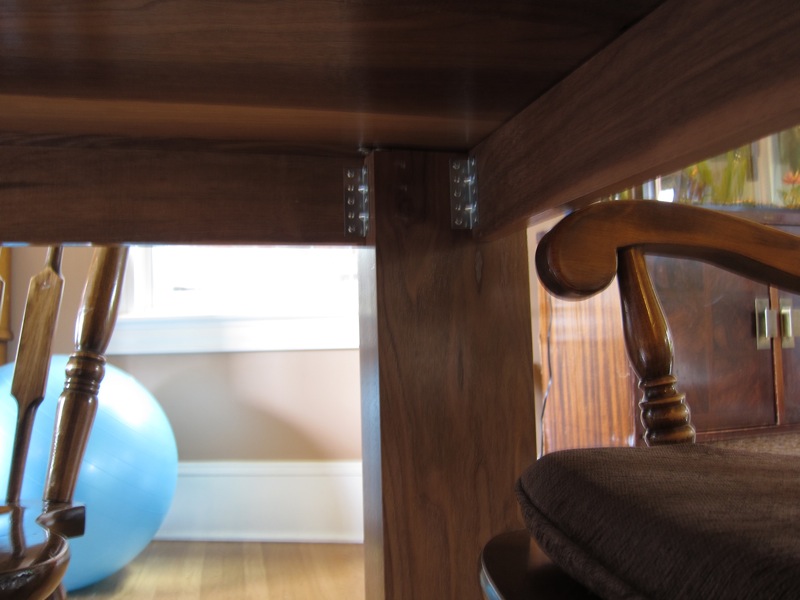
Ultimately, I discovered the joints at the top of the legs weren't solid enough to preven the table from wobbling just a bit when jostled/pushed/used. So I added brackets underneath the top at each leg/stretcher joint.
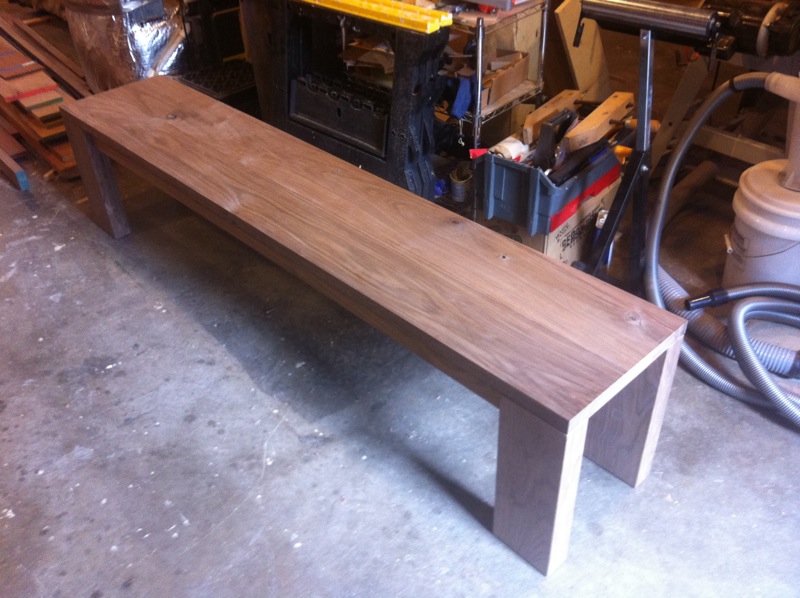
I had also agreed to make a matching bench, which is constructed in a very similar manner. Instead of ripping narrower boards for the bench top, I just used two wide boards — the grain matched up nicely and was too pretty to chop up.
The bench legs are a little bit smaller than the table legs, but made in the same fashion.
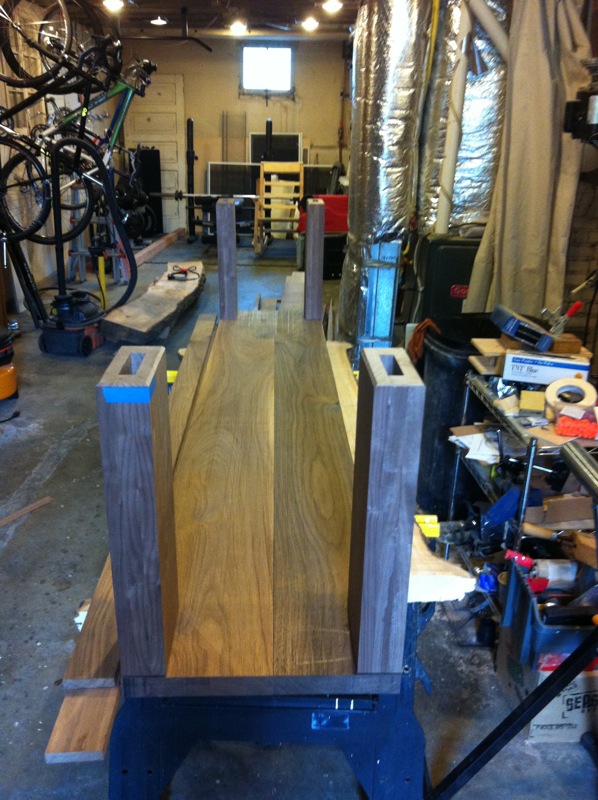
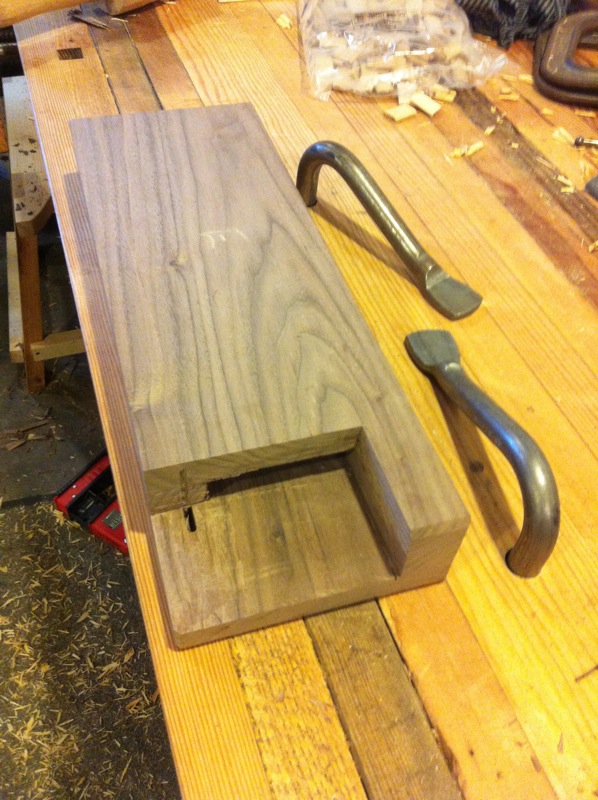
Rather than notch out space for the bench stretchers, I just removed a whole chunk of the leg.
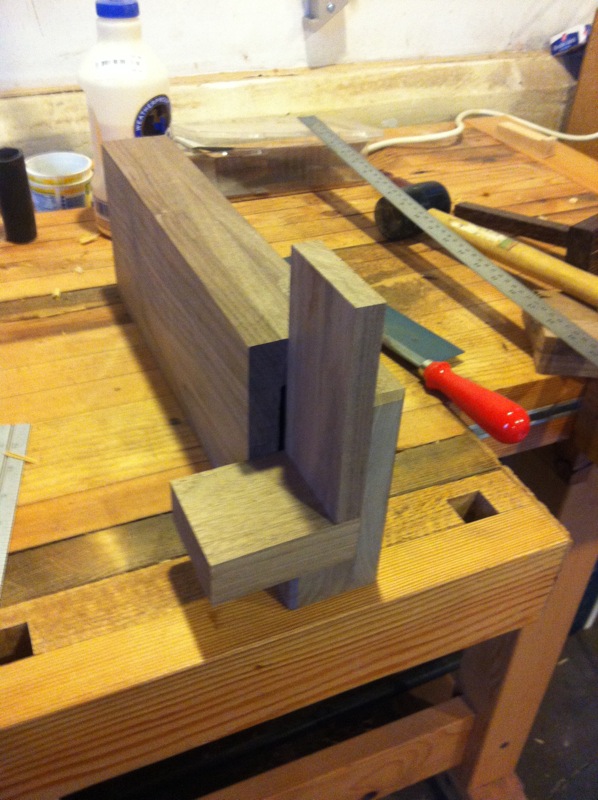
Here's a mockup of how the stretchers attach. Unlike the table, they will be permanently screwed to the legs, since the bench is smaller and more easily moved as a unit.
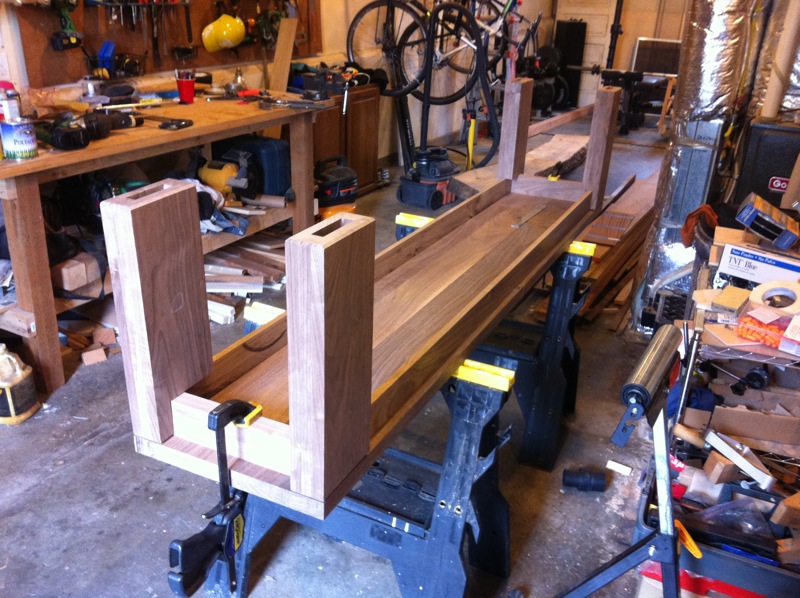
Here it is all going together.
And now completed!
The finished pieces, looking good in the dining room.