Much has been written about how to make these end-grain cutting boards, and I won't rehash the how-to details here. Instead, go check out the originals:
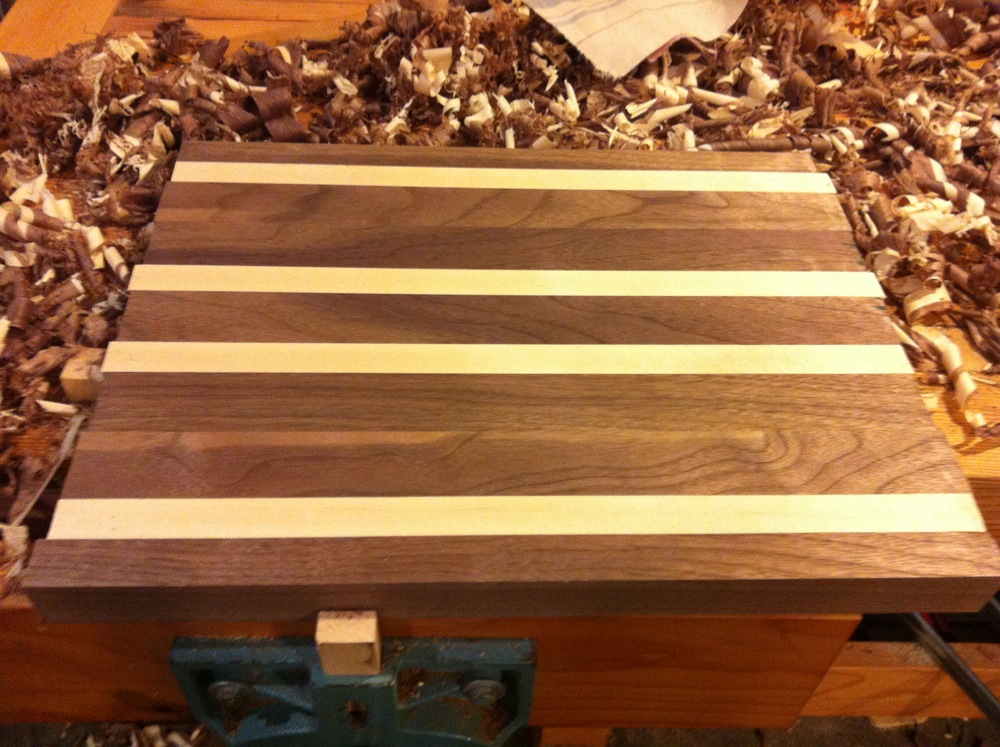
I had some scraps of walnut and maple in the shop, and wanted to give it a go making a cutting board. Here is the first glue-up in process, after I'd glued strips together and as I was planing it to a uniform thickness:

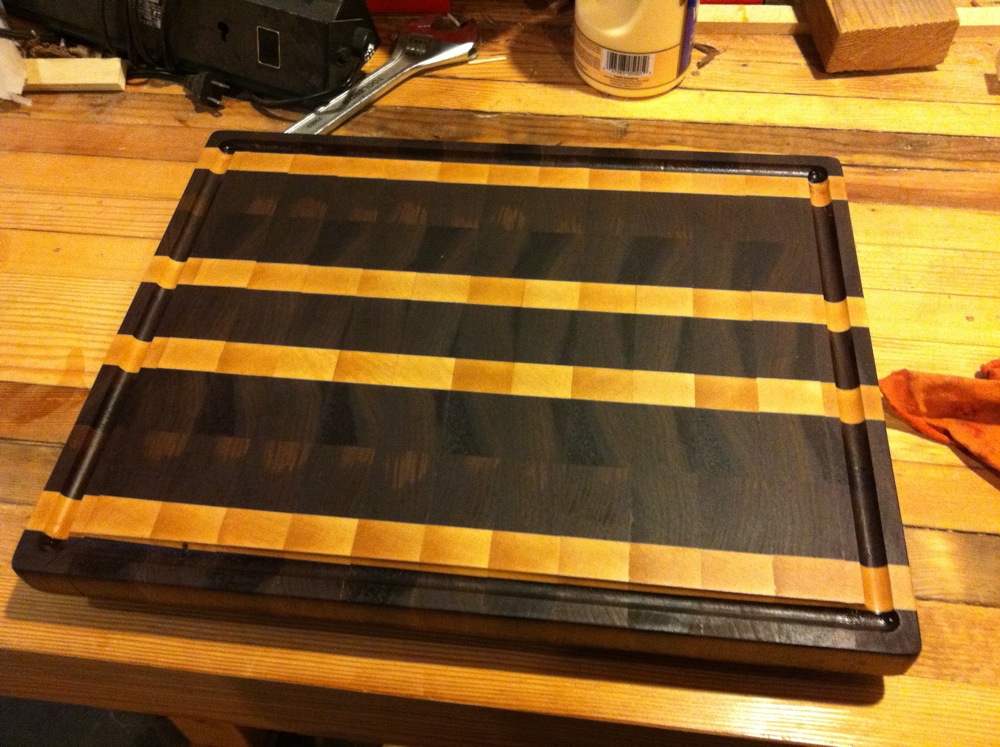
And here's how it turned out, finished with several coats of mineral oil:

As was the goal, I learned quite a bit making this. Notably:
- It's best to do some planning ahead of time with your pattern. Where will the different kinds of wood line up? If you're routing a gutter, where will it land?
- It's important to get the first glue-up dead flat, otherwise the second glue-up won't line up well. To be clear, the cutting board will still be functional, but it might take extra sanding to get it flat (time consuming) and it might not look perfect (the blocks won't line up well).
- My router skills are still developing, and I could definitely find a better way to cut the groove around the outside of the top surface. Better not to use the router table for this one, and use some sort of fence/fixture on a handheld base?