Knowing that we were about to take in two cats, and knowing that they (like many cats) are prone to early morning food cravings that often result in waking up nearby humans, we decided an automatic cat feeder was the answer.
Now, obviously, we're not the first to come up against this issue, and there are quite a few products on the market. After a brief survey, though, we decided they were either ineffective (read some of the reviews about how the dumbest of kittens can outsmart some of the feeders), too ugly, or too expensive, especially considering we had two cats to feed. So I took on the task of making one of my own...
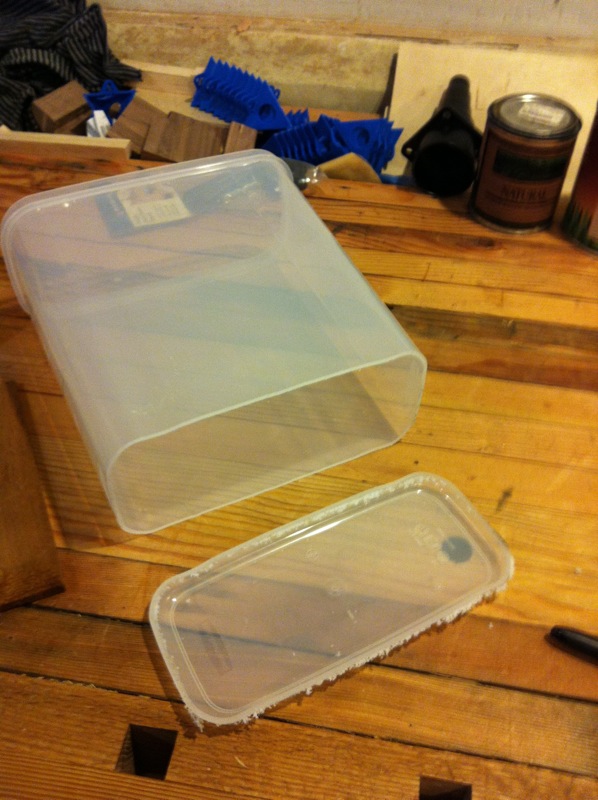
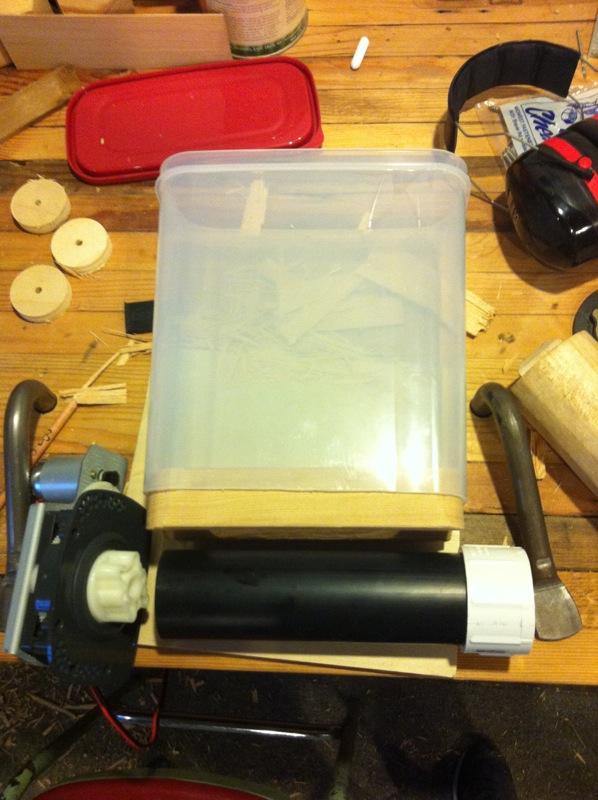
I had a rough idea in mind of how I wanted the feeder to work, and I started with a plastic container that would serve as the dry food hopper. I cut the bottom off, and set to making a new part that would guide food into the dispensing mechanism.
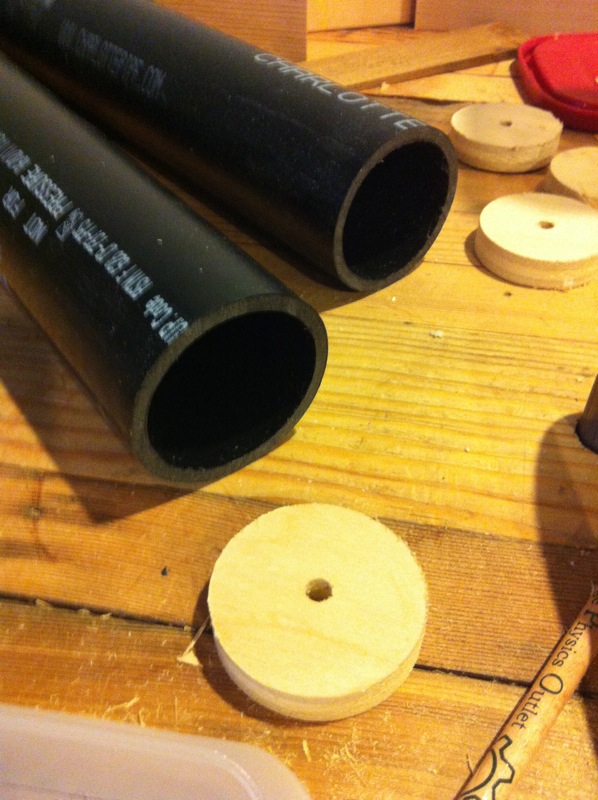
For the dispenser, I used a section of 2" ABS pipe (rather than PVC, which I like to avoid when possible), the idea being that the pipe would rotate on its axis to dump food out. As luck would have it, the round leftover from using a 2" hole saw fit comfortably inside the pipe, and I used a number of these plywood rounds to set up different compartments in the pipe, and also couple the pipe to the motor.
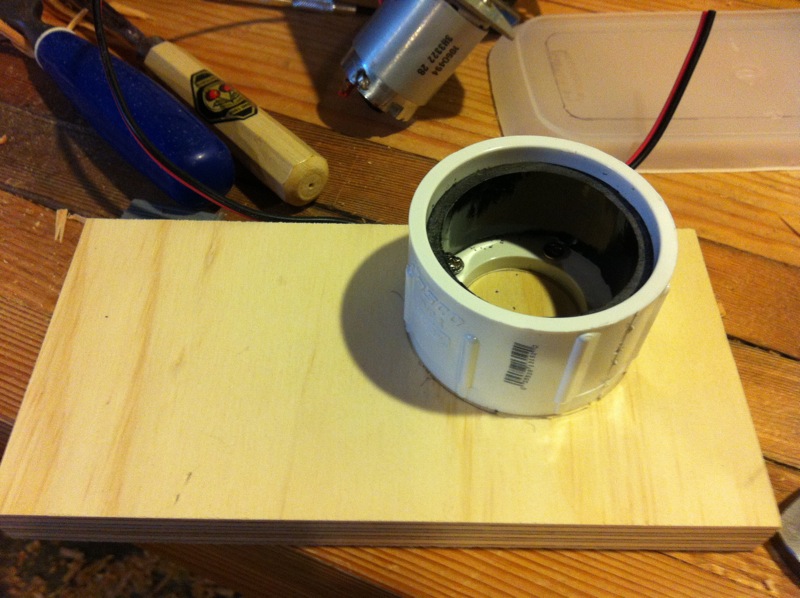
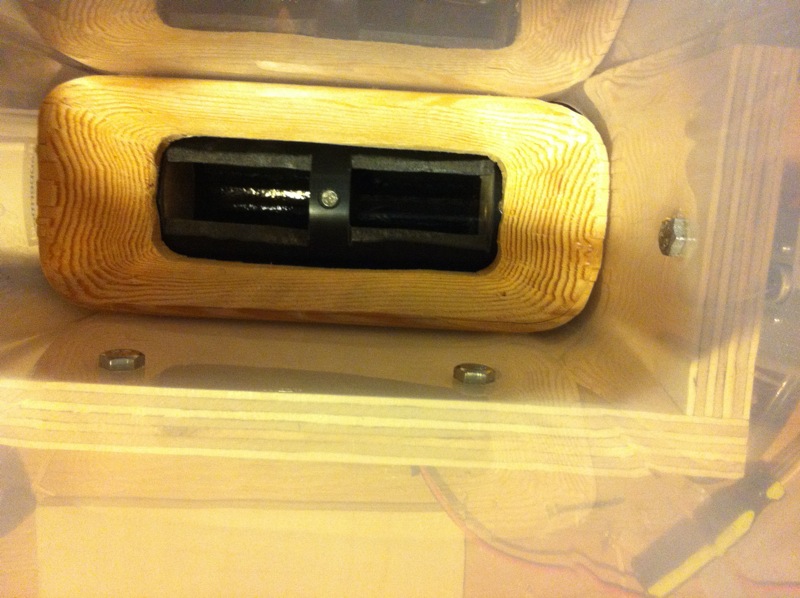
One challenge with having the pipe spin was to fashion some sort of bearing. I noticed that if the pipe was set barely inside a tapered fitting, it spun marvelously (obviously, the deeper it's pushed into the fitting, the harder it is to spin). So I cut off a small section of pipe and pushed it all the way into the fitting, blocking the dispenser pipe from sinking too deep.
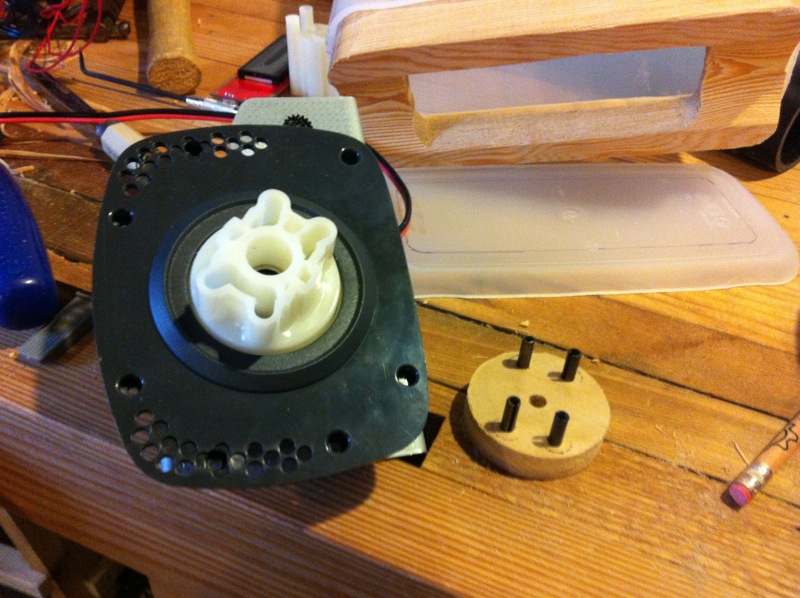
In my collection of junk that I've been amassing since age 8, I dug out the motor and gearbox from an XBOX force-feedback steering wheel controller. This happened to have a simple-to-drive DC motor with high torque, and a potentiometer built-in, for sensing rotational position. I used some spring pins and another plywood round to join the dispensing pipe to the output shaft of the gearbox. This is also a good view of the wooden piece I made to couple the bottom of the hopper to the pipe.
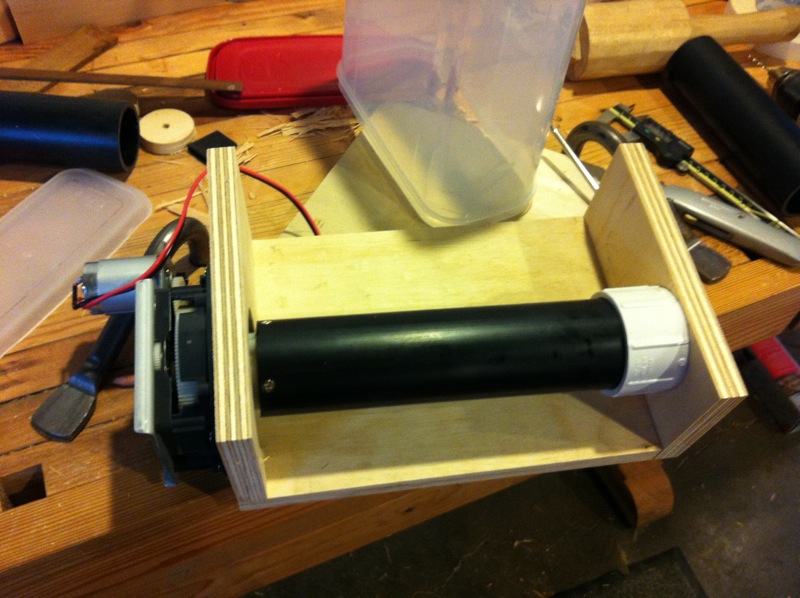
So here's the assembly so far: hopper positioned above the dispensing pipe, with motor (left side) and bearing (right side).
I made a bracket from plywood to hold these parts in place. Note that the hole in the bracket for the motor is oversized to allow proper positioning/alignment. Once it's in the right location, I marked & drilled holes and secured it with screws.
Here's the hopper & dispenser assembly.
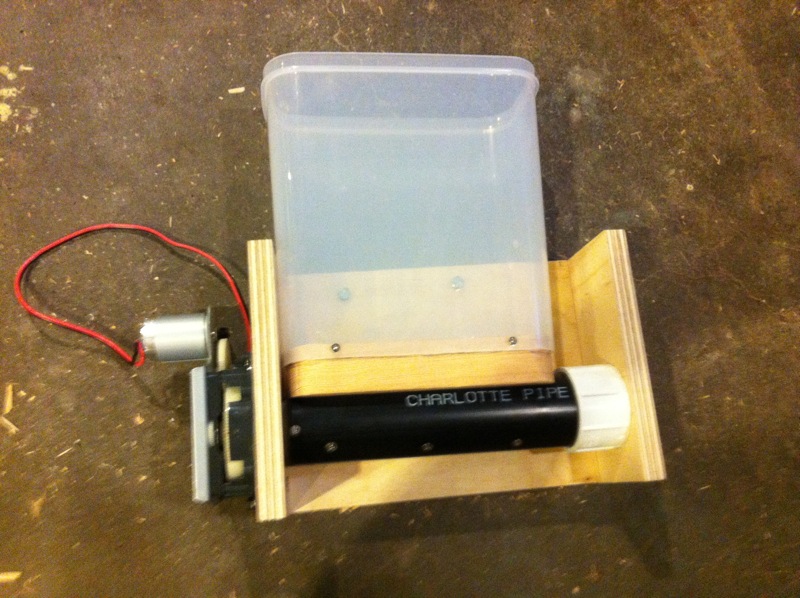
Later on, I discovered if the hopper was too close to the pipe, kibble would get trapped and prevent the dispenser from rotating. So I added some foam strips to the underside of the wood piece and moved the hopper up away from the pipe a corresponding amount.
This view from the top of the hopper should give you a good sense of what's going on with the dispenser. There are two holes cut in the pipe, and three plywood rounds installed (but not visible) to create two compartments for food. These fill up, and when the pipe rotates 180°, the food is dumped into waiting bowls. Later on, I added a wooden wedge below the dispenser to split the food a little further apart.
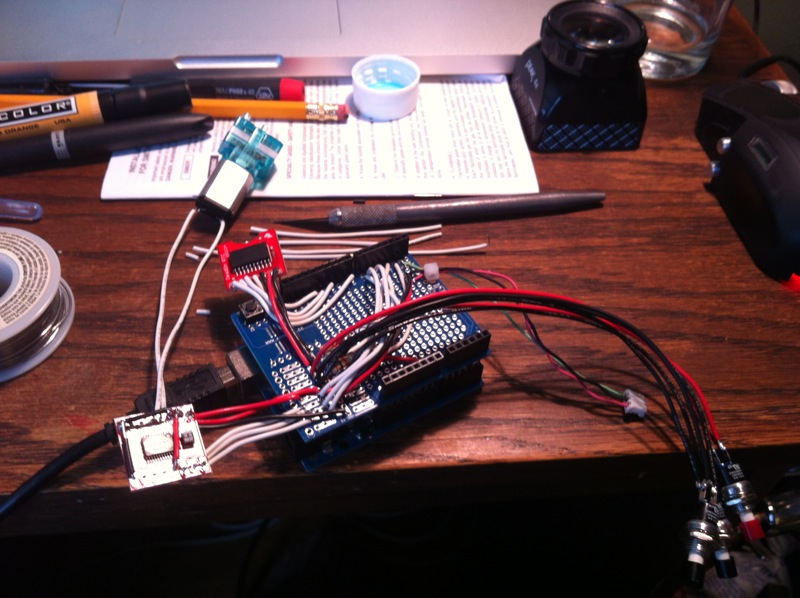
I've actually been keeping an eye out for a project that would give me a good excuse to play with an Arduino. Though it's been a while, I've played some with other small-scale microprocessors (notably, PICs and PSOCs), and there's been a lot of buzz about Arduino lately. Honestly, I think I initially perceived that buzz as overly hyping things, and (somewhat cynically) I wrote it off. But I was pleasantly surprised to find a solid product with an amazing amount of support available online.
I picked up:
- an Arduino Uno
- a dual motor driver
- a real-time clock board
- a serial-enabled LCD
- a few momentary pushbutton switches
Within an hour or two (thanks in large part to the code snippets available online), I had a working version of what amounts to an alarm clock with a motor instead of a buzzer. The buttons afford us a way to set the current time and the alarm time (as well as the backlight brightness), and I made use of the Arduino's on-board EEPROM to store the alarm time value if the device is powered off (the RTC module has its own backup battery and keeps time even if the device is unplugged).
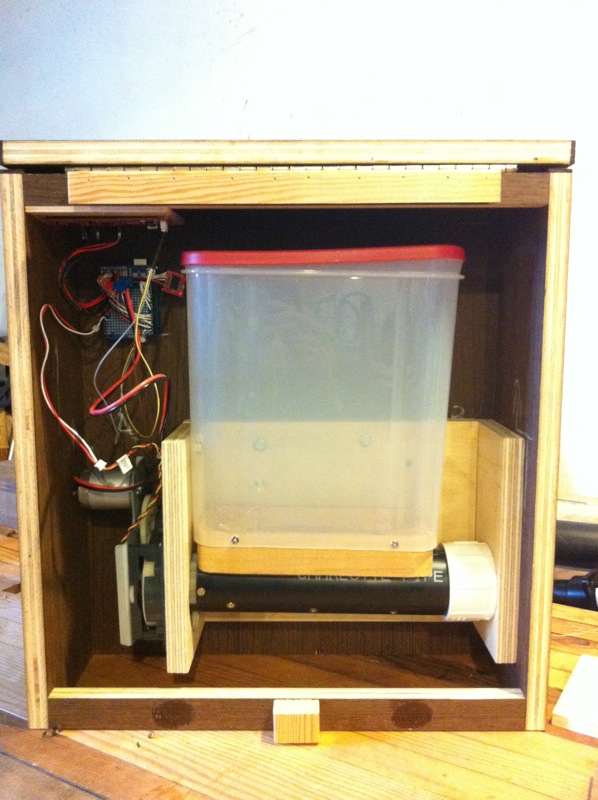
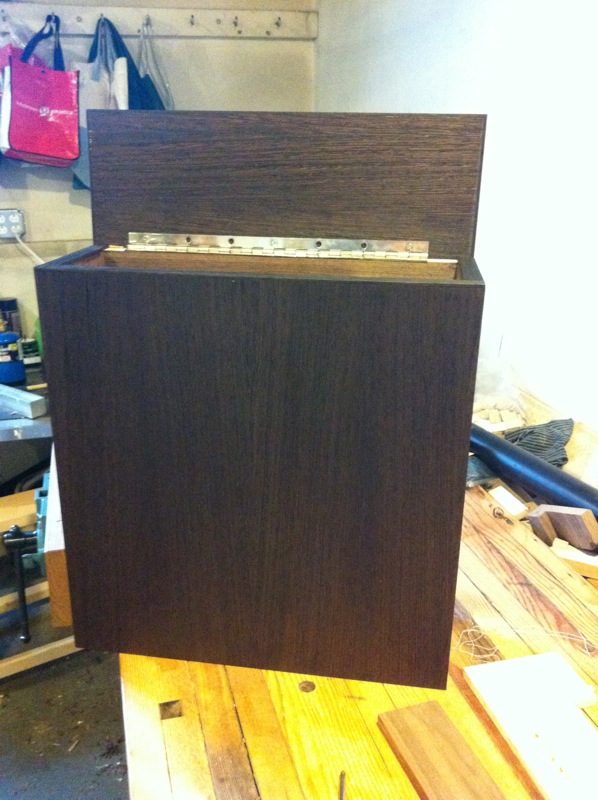
With control electronics and a hopper/motor/dispenser complete, the only thing left to do was make an enclosure. I had just enough wenge plywood (admittedly not something everyone's gonna have lying around) to do just that in a scrap I picked up from a friend who used to work at Henrybuilt. You can see the trim I installed along the edge where the plywood pieces joined — I brought it flush with the plywood after I took this photo.
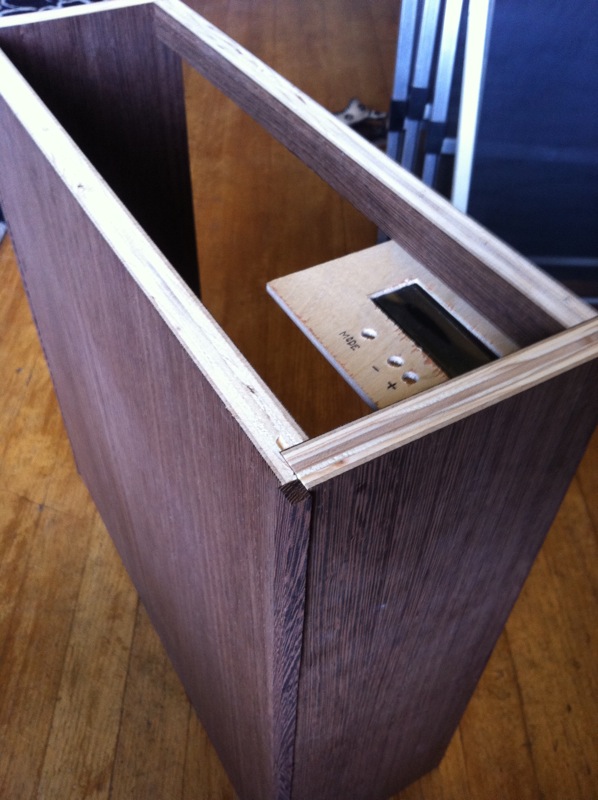
Here's a rear view of the hopper and motor/dispenser installed in the carcase. You can also see the hinge & lid installed.

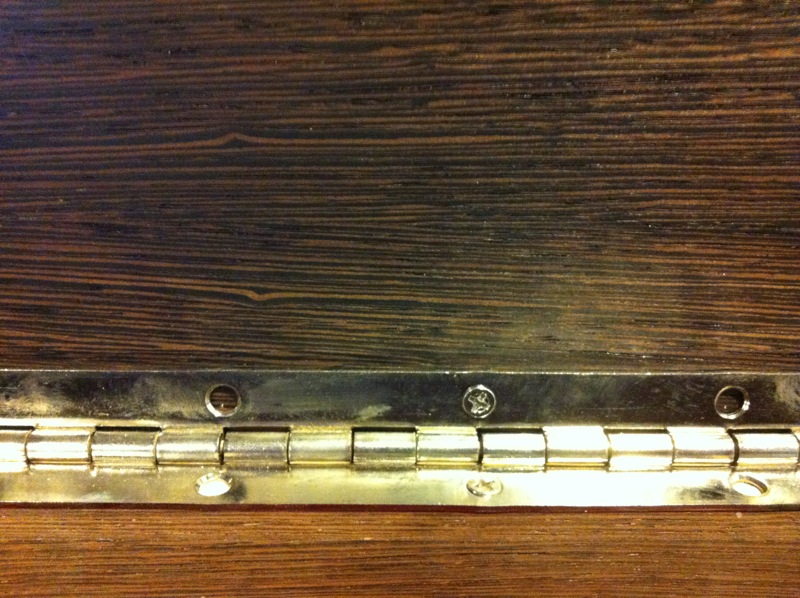
Gratuitous wood grain closeup!
Here's the finished case.
And a rear view of the finished feeder. Near the top edge you can see one half of the French cleat I'll use to hang the feeder on the wall (and the spacer block at the bottom). The control electronics are installed in a location where cables can reach the motor/potentiometer as well as the screen and buttons.
Finally, here's the whole system (minus the cats, who hadn't yet arrived) in action: